
Crossbar Resources
Create Your Account
- Click "Sign Up" which will show at the top left of the site over your organization's logo.
- Enter the email address and password you'd like to set up for your account.
- A verification email will be sent to the email you enter to activate the Crossbar account.
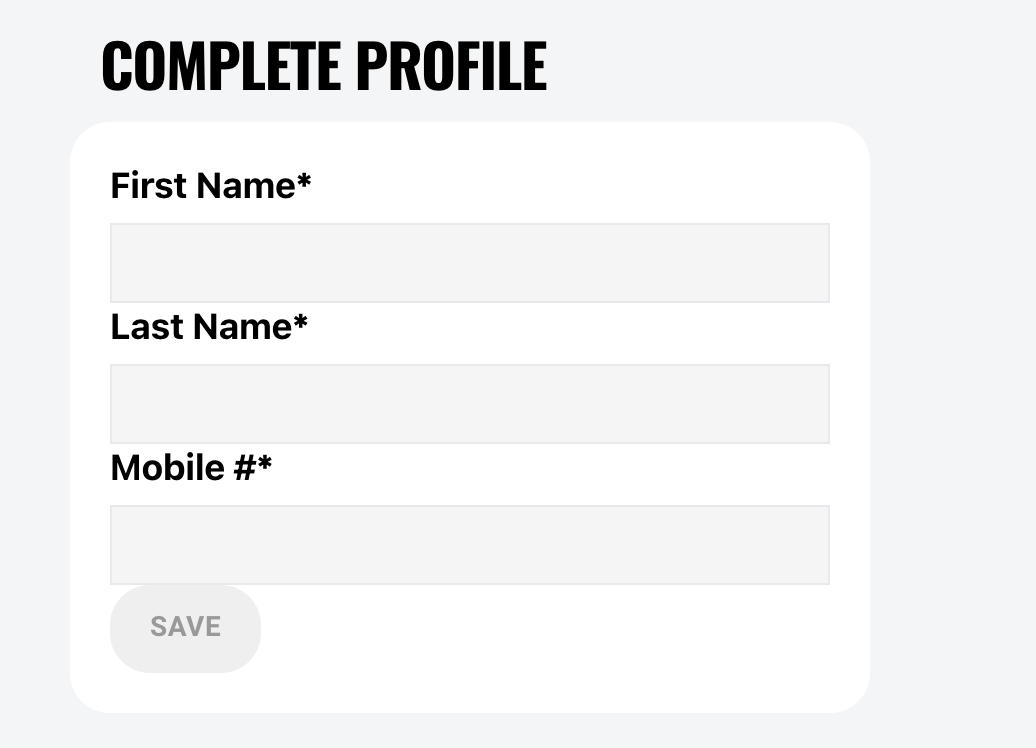
Complete Profile
- Once you have verified the account, you'll be able to enter your name and phone number to complete your account set up.

Adding Your Participant(s)
After you complete your account setup, you'll be prompted to add a Participant/Player to your account.
If you need to add another participant to your account at any time, you can follow these steps:
- Log into your Account and choose "Account"
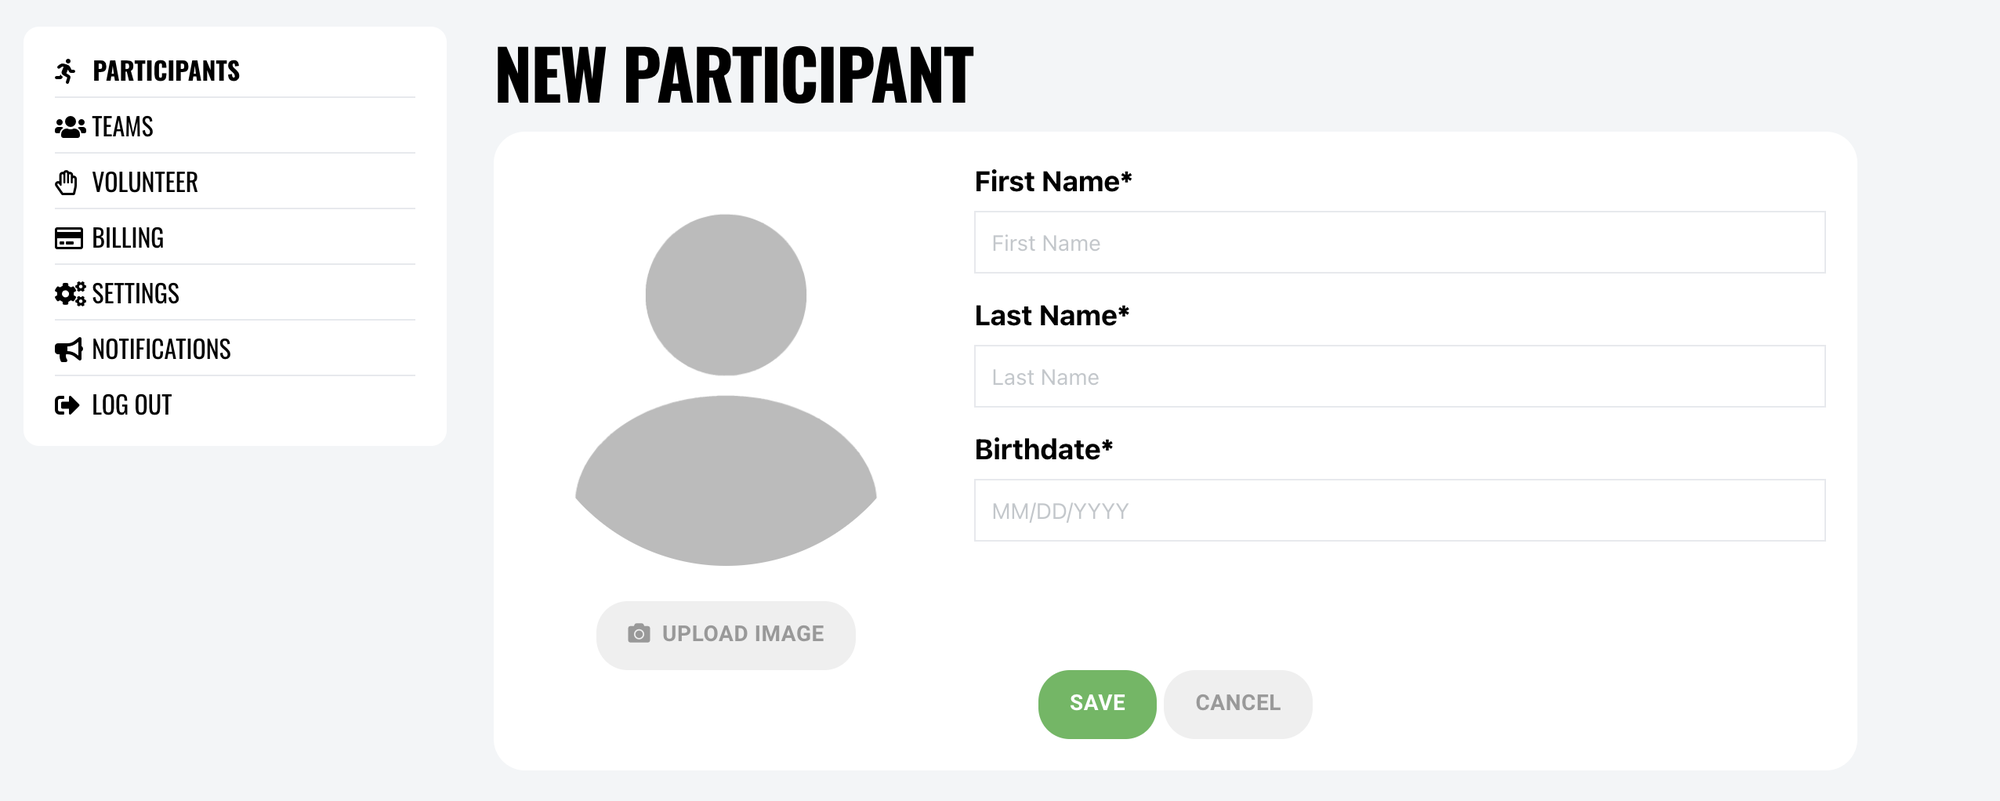
- On the Participants tab of your Account menu, select "Add Participant"
- Select Add Participant
- Complete Player Profile (name, birthdate)
Your Account
Click on the profile icon to see the details for each player.
Within the profile, you may:
- Edit Player: Click the edit icon in the upper right. This allows the parent to fix spelling errors of the player’s name and update their birth date if entered incorrectly.
- Add Account: This feature allows the registering parent to add another person’s email address to the player’s record. Note the parent being added will have to verify their email address when they get the email and set up an account (if they have not already set one up).
- View Registration History: Click View Details next to the program and season you want to see details for (payment method and amount, questions answered during registration).
TEAMS: Here you will see the teams your players are assigned to, and a link to the team page.
VOLUNTEER: Here you can sign up for volunteer events your organization has added, if they exist.
BILLING: The Billing section of your Account allows you to view your balances/payments and update your payment methods on file.
SETTINGS: This tab allows parents to update their account by updating their name (fix typos etc), phone number, email address, and password. If updating an email, the parent MUST follow the instructions in the verification email to verify the new email. The parent will NOT receive any emails until it is verified.
NOTIFICATIONS: Here you can manage your notification settings. Sets email notifications for games and practices. Ensure you have these selected to receive all communications from your organization.
Family Calendar
This link is available once logged onto the Club website. Every player’s schedule associated with this email address will be shown on the Family Calendar display. Players must be registered and assigned to a team for their schedule to show up on this display. If you are not the registering parent, you must have the registering parent add your email to the account associated with the child.
Select the CALENDAR FEED button on the FAMILY CALENDAR display and follow the instructions to sync this calendar with your phone.
Get the mobile app
Frequently Asked Questions
How do I change or add a credit card to my child’s registration?
Credit/Debit Cards expire or are lost/stolen. Once you are notified of a failed payment, please update your card as soon as possible.
Steps to change/add a credit card:
- Log on
- Select Account (upper left corner)
- Select PARTICIPANTS on the left-hand side
- Select the Profile icon under your player's name
- Scroll down, then under Registration History, select "View Details"
- Click on the EDIT button next to the card # of the next installment and add another card.
- Once you have changed/added a new credit/debit card, please notify the Registration Director just in case an adjustment to the payment due date and/or amount has to be made.
I am the registering parent. How can I add other people to my player’s account so they can view the Family Calendar?
- Log on
- Select Account (upper left corner)
- Select PARTICIPANTS on the left-hand side
- Select the Profile icon under your player's name
- Click + ADD ACCOUNT
- Add the email address and select ADD ACCOUNT
If the parent already has an account, they will be added immediately.